Mastering the Planogram
by
For independent retail merchandisers, no two days are ever the same. Unlike your typical 9 to 5 office jobs, they are always on the move. They lend their talents to a broad range of clients in a broad range of industries. They may spend their day in a Dollar store. The next day they’re working at an apparel retailer. When there’s a retailer that needs help merchandising, you’ll find them there.
The best merchandisers have one crucial trait in common—they are all problem solvers. Which is why they thrive in new and unfamiliar situations. One other thing all the best mechandisers share is a deep immersion in the fundamentals of retail, and of merchandising.
One of the elemental tools used by merchandisers is what’s known as the planogram. Let’s take a deep dive into what they are, how they work, and how understanding them is absolutely essential to having success in our industry.
What exactly is a planogram and how does it relate to merchandising?
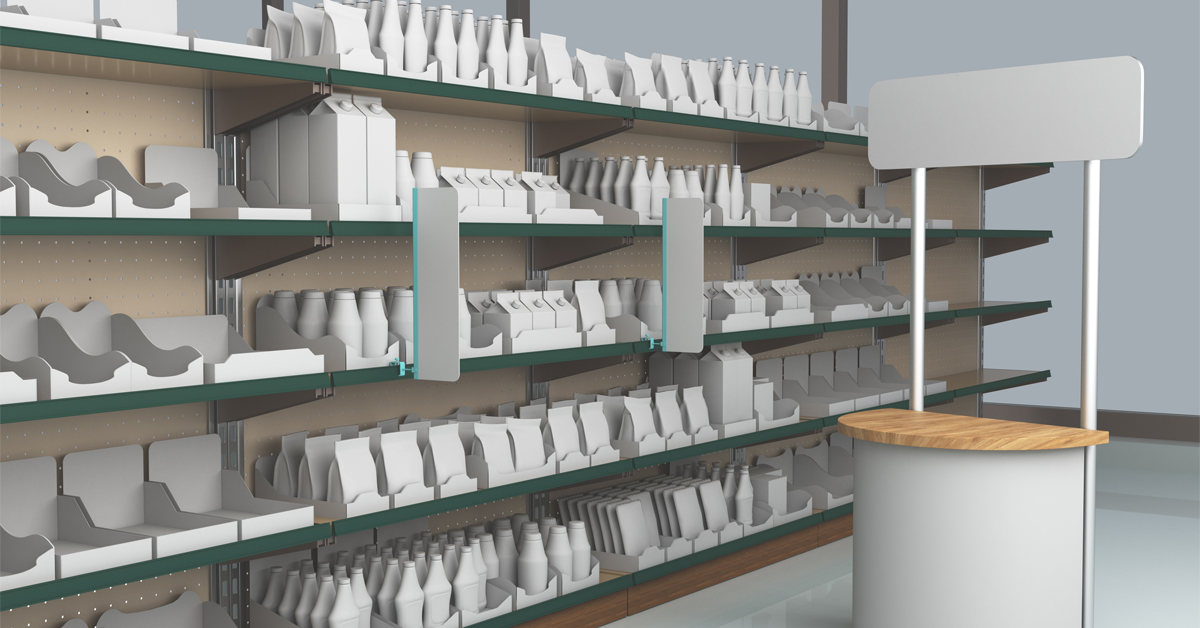
Planograms—also known as schematics or POGS—are quite simply a visual representation of a store’s products within a specific aisle, area, or if you drill down even further, a specific section of shelving.
They are designed with care and a staggering amount of detail, based on data and a deep and abiding knowledge of customers. The primary objective is to arrange the products in a way to attract, engage, and motivate shoppers towards making a purchase.
For retailers with multiple locations nationwide, planograms are merchandising blueprints that serve a few different important functions. Chief among these is their ability to synchronize product layouts on shelves across locations. This consistency reduces shopper frustration by making it easy to find the product they are looking for, no matter which location they are visiting.
Planograms also play a crucial role on enhancing a retail space on an aesthetic level. The goal is provide a visually dynamic shopping experience that is easy to navigate _and_enjoy. Nobody wants to return to a drab, visually unappealing store. Another important role of the planogram is to empower merchandisers to quickly stock—and restock—items quickly and easily. They are literally a map of a retail store, so new merchandisers can use them to get up to speed on the layout of a store and know where each product should be placed.
For independent retail merchandisers, it’s easy to see why planograms are one of the most basic elements of their toolkit. If you’re just getting started in the field, the better you understand how to read and implement them, the more successful you will be in your role. But…how do you read a planogram?
Planograms are as easy as A, B, C
Planograms consist of four main components:
- Cover
- Schematic
- Line Listing
- Universal Program Code
Each component is an important piece to a much larger puzzle. Let’s dive into what they all do.
Cover
The cover to a planogram is made up of everything you need to know about this project. This will include instructions, accessories, signage, and point-of-purchase materials.
Schematic
The schematic is an in-depth computerized illustration of how the store should be set up. This includes everything—the setup date, shelving and peg hooks needed, product placements, as well as promotional materials needed.
Normally, planograms are set up in 4-foot sections. Each 4-foot box on the planogram corresponds to numbers, or LOC IDs. The merchandiser will cross-reference the LOC IDs with the Stock Keeping Unit listing, or SKU, to receive more information about each product involved in this POG.
Line Listing
This is a listing of all the products used to identify where a product goes when setting up a store. This will contain the Loc ID, the SKU number, a UPC number, a product description, and any other information regarding the placement of these products.
Universal Program Code
Usually referred to as a UPC, this is the bar code that you find on every product. The UPC helps both the merchandiser and the retail store to identify each item.
How to hit the ground running as a freelance merchandiser
Now that you’re familiar with the broad details of a planogram, here are some keys to success when starting out:
- Always review the full planogram before starting your work. Once you’re familiar with the task to be accomplished, you can hit the floor running.
- Make sure you have all the necessary supplies and materials you’ll need to complete the job. This can incude cleaning supplies, shelf labels, and fixture accessories.
- There is a good chance you’lll be working during store hours. In some cases, people will be purchasing items in the section you are currently working in. To limit this, try to work in sections, and keep your work area as neat as possible.
- Double check your work! Make sure everything is in its right place before moving on to your next spot.
If you’re about to start contracting as an independent retail merchandiser, follow these recommendations to have success. Get familiar with your planogram and payattention to details. If you stick to the plan(ogram) you will experience success early and often.
Have any questions? Reach out to us and we will help you out!